Windy weather ruined your ‘do?

It’s always the way. You spend ages sorting your hair in the morning, straightening, curling, styling… to get out of the house, and to work, uni or college, only for the weather to get between you and a reasonably looking hairstyle. Then you’re left with messed up locks, making you wish you’d spent that half hour in bed, keeping warm…

So, next time you see bad weather predicted (or simply want an extra 5 minutes tucked up) take a second to learn these pretty easy up-do’s. They’re relatively simple, look effortless, and don’t mean you have to limit your style just because Mother Nature decided to chuck it down. Up-do’s can be glamorous and easy, allowing you to look fab and worry about more important things, like avoiding puddles and catching your bus on time.

Style number 1: The messy bun

Save the perfected top knots for ballerinas, and turn bed head locks into effortless style. Even if you have shorter hair, there’s nothing a little back combing and pinning can’t fake. Even with a shorter bob, I would tip my head up, pull my hair into a hairband, backcomb and pin into a bun. The messier the better – feel free to loosen the bun, and let a few straggles free. If you do have longer hair, try curling the very ends, and let them loose out of your bun. Curls can also add definition to your top knot, rather than a perfectly coiffed ballerina-esque style.

445842984059c73ec4049c1112fd1b33

6b33442d4067ddd0f9ec3bafca2fe3662286c15d281670759ea6072f16e73d02

Style number 2: The side plait

More easy going than a bridesmaid-esque french plait, and less headache-y than a fishtail style. All that’s required is the ability to plait 3 sections of hair, and a tie. If the weather is really rubbish the aim is to keep your style pretty loose and un-perfected, because if you do end up looking windswept, it hasn’t completely ruined your look – simply added character to it 😉 59f0d75e8c43478b539607b4fdade30ab0c8e23fd4d5e1091e7dc66b1eb9b8176a520ca152bc45aa7a5f3e20c6570de0

Style number 3: The low pony

Seeing a pattern emerge here? All pretty low maintenance styles, which don’t rely on several hours of prep, and don’t require perfectly straightened or meticulously curled hair…? 🙂 The low pony might sound low impact style-wise, but styled correctly can really add to your outfit – what ever the weather. Bangs or no bangs, a low pony looks best with a slightly backcombed at the crown, and tied at the nape of your neck. If you want to add extra volume, try adding extra pins just above the hair tye, or hairspray to keep the look in place. If you want to disguise a hair tye, try wrapping a cm of hair around the pony, and securing with a pin below the pony, above the nape of your neck.

f8b7885c0b0a5d39400bcbd05430e51efcfd75fd80a1e8dfc7b5557d4e574b0af9dcef228ae0b9c195bea8c9568456db

So there you have it! 3 relatively easy up-do’s to save your locks in rubbish weather. Let me know if you try any out, and link to your blogs below if you’ve got any more tips, or alternative ‘bad weather styles’.

You can find me on Twitter and bloglovin’

Happy blogmas!

Alice x

Ps. I don’t own these images. There are available on Pinterest, and each image is directly linked to the pin on Pinterest.

Winter Make-Up Trends

So, I’ve spent most of this week debating with several groups of friends what I should, or definitely shouldn’t, wear to Christmas parties this December (yes, my life is that interesting!)

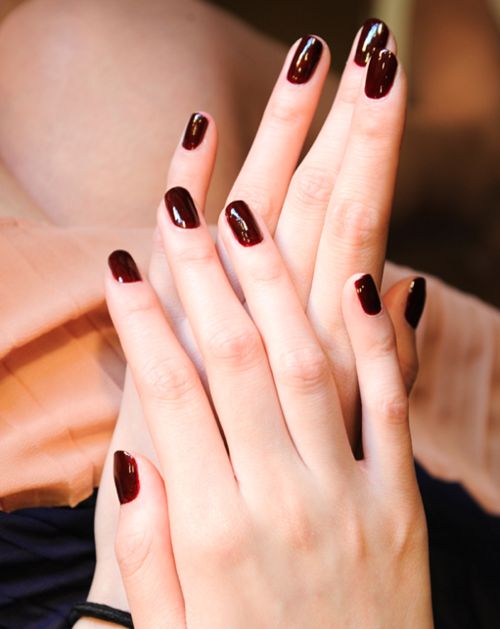
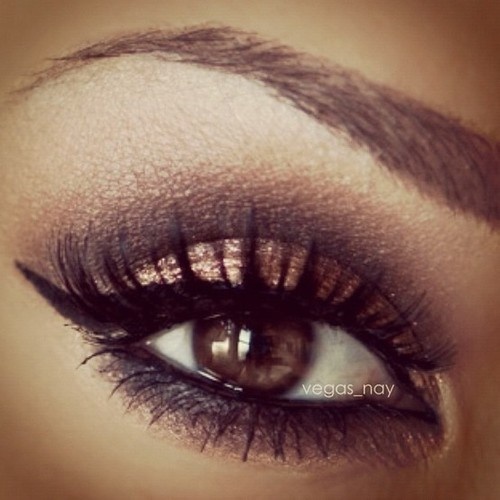
However, the only thing I can decide on is the make-up and nails – something dark. I know most people dye their hair darker when the weather gets colder, but for once I’ve stayed blonde and feel I need to go dark elsewhere this Winter. So, I’m thinking Wine coloured nails (more Pinot Noir than Grigio), classic smokey eyes and lashings of mascara. All I need now is a dress…

Nails. Dark reds always tend to shine more in the winter. Try a delicious dark red, and either a top-coat of Barry M shine, or Essie’s matte to add something extra. An accent nail in a similar shaded glitter, or nail caviar, could add a little extra if you’re looking for some sparkle too.

efbc97556b464efc12ce57902c41ce79

Blushed cheeks A great tip I heard recently is to apply blusher under a light later of foundation for a rosy cheek effect, rather than after foundation. It looks more subtle too, especially if you’re worried about your blush overpowering your look.
220579f2d1f3b04b1e3baa3dab7d218d

Smokey eyes. Certain to add a little extra to daytime make-up, smokey eyes done well can transform your outfit, with rock chick effortlessness. Want a break from the staple grey/black smokey eyes? Try gold, or even rose gold, this winter.There are no rules! Having statement eye makeup doesn’t mean you need to tone down the rest of your look, just wear what you feel comfortable in.

e217a7f8dc8cd7ebb775c1d41e5818c6

Sultry lips. Dark red lips are fast becoming a winter night favourite. Paired with a LBD and heels, you’ll pretty much nail any dress code this Christmas. A brighter shade might work fabulously with smudged eyes, but pale pink lips might look stunning with natural eye makeup. It’s all down to personal preferences, and you’re willingness to experiment.

a0adeb44b830c1d18d9fc576e8fca1f6

What make up looks are you looking forward to this winter? Please post links to your blogs below if have any tips you want to share.

Find me on Twitter, Pinterest, Instagram and Bloglovin’.

Happy blogmas!

Alice x

ps I don’t own the images above, but I have linked to the pinterest accounts they are taken from. Just click the images and pin away!

How to: Make your own tie up crop vest

I have so many cropped tops.

I have colour block ones, plain ones, text ones, patterned…. You get it, I have a lot.

But, despite this, I still wanted more!

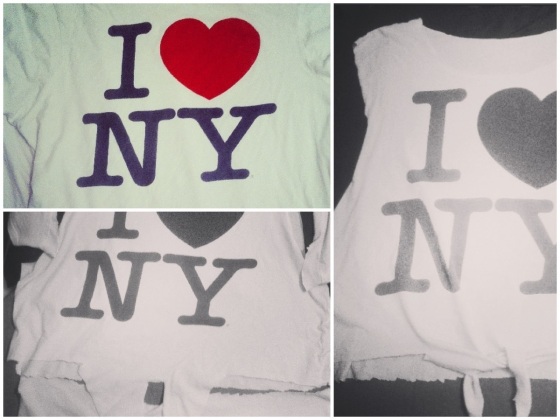
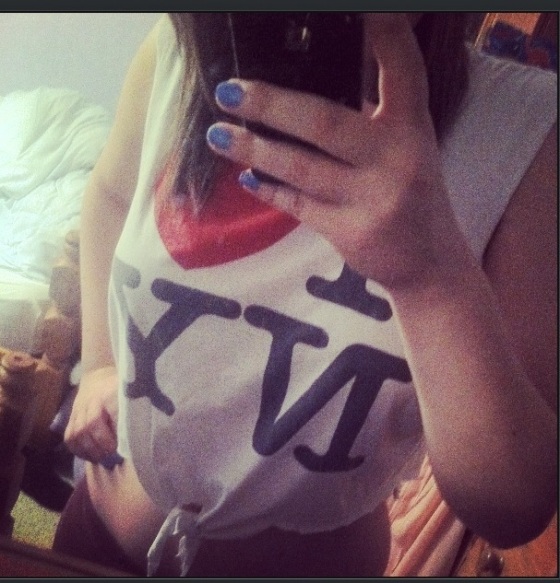
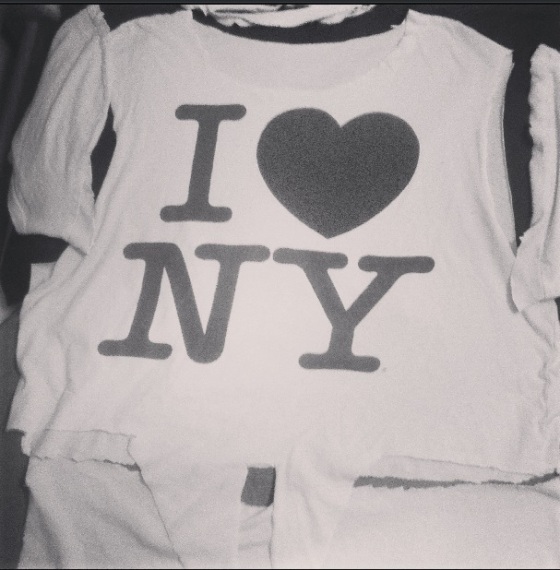
I had an old, slightly battered I heart NY top from Primark that I thought was the perfect contender to show you how to make your own. Enjoy!

Step 1. Find a t shirt. (Maybe test on a top that you don’t mind ruining first, or just to check the cut/measurements for your new crop top) I’m fairly tall, so where I’ve cut mine might not work for you if you’re really petite – for example.

Step 2. Cut roughly a cm/inch around the neck seam, and remove.

Step 3. Remove the sleeves, and cut to roughly 2cm below the seam. (Cut more if you want a deep vest style, great for little bralet or bandeau tops in the summer!)

Step 4. Try the top on. Adjust and style to work for you, and work out where is best to cut across for the tie up front detailing. Make a pencil mark just below the chosen line, so when cutting across you aren’t left with a pencil line.

Step 5. Cut in a straight line from the outside in, roughly a quarter of the total width. Mark the middle of the shirt for complete accuracy, and to help with the tie front.

Step 6. Roughly cut out two triangles for the tie. They don’t need to be perfect, because they will be tied up eventually.

Step 7. Cut off the back section of the lower half, so your top is now fully cropped, with the two tie sections left.

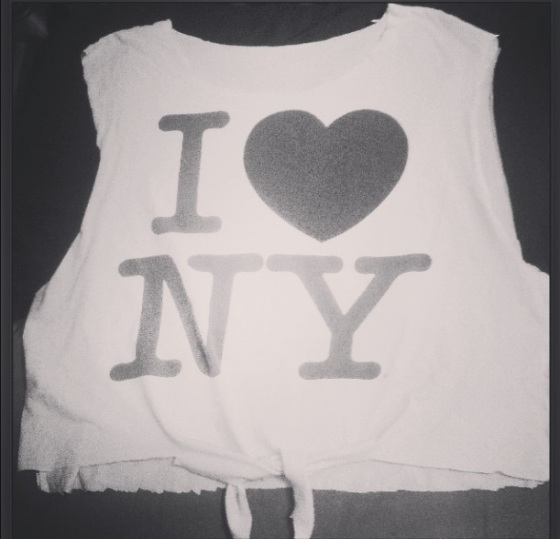
Hey presto! Your top is complete!

Below are the pictures to help, and also some styling ideas I will be wearing with my new crop.

See you soon!
A x

Follow me on Twitter
Add me on Pinterest
Add me on Instagram – AliceBrazier
Find me on Polyvore, search for Alice Brazier

20130331-111107 PM.jpg

20130331-111142 PM.jpg

20130331-111201 PM.jpg

20130331-111220 PM.jpg

20130331-111317 PM.jpg

20130331-111400 PM.jpg